Sunday 6 April 2014

It's curtains… for the sewing room

I moved house twice in 2013.  I have been lucky in that both of the dwellings allow for a designated sewing room.  Some of you will remember the first one from the blog entry last Summer.  The second has seen more service as a spare bedroom than for sewing.  I think this is because it is equipped with a futon rather than a decent cutting table.  It does however have a fantastic 1930s sideboard in which to store fabric, haberdashery and patterns and the room has enough floorspace for the Singer 201K in its cabinet.

The previous owners left behind a black-out roller blind and an empty curtain track so I thought I would have a go at curtains.

I was inspired, in part by one of my Christmas presents [am I really blogging about Christmas presents in April?] Sewing Machine Basics by Jane Bolsover...


… which contains instructions on how to make sheer curtains…


...and partly by a pair of poly chiffon curtains that came from one of The Much Belovéd's previous residences.  The curtains would not typically be my first choice of fabric but they were unlikely to be used again elsewhere, sheer and would therefore work well with the existing blind, free and available and therefore of no consequence should I happen to ruin them.


I laid a curtain out on the floor which was the only place big enough to do so.  The top of the curtain was finished with a tab top and the bottom partially finished with an overlocker.  I suppose the idea was to hem them yourself to the required length.  I rather suspect that this pair of curtains may have been supplied with their own packed of fusible webbing for just that purpose.

The tab top wasn't going to be much use to me because the type of curtain track I had inherited so the first thing to do was to get rid of it.  I set about it with my sharp shears.  The nasty plasticky label also disappeared along with the top hem.  Imagine putting a great heavy label like that on an item made of transparent fabric!


This operation left me with a long piece of cloth, hemmed on two sides, overlocked across the bottom width, with raw across the top.  Each curtain was more or less the width of my window and, from what I had read, using both would give me a nice fullness when gathered over the window.

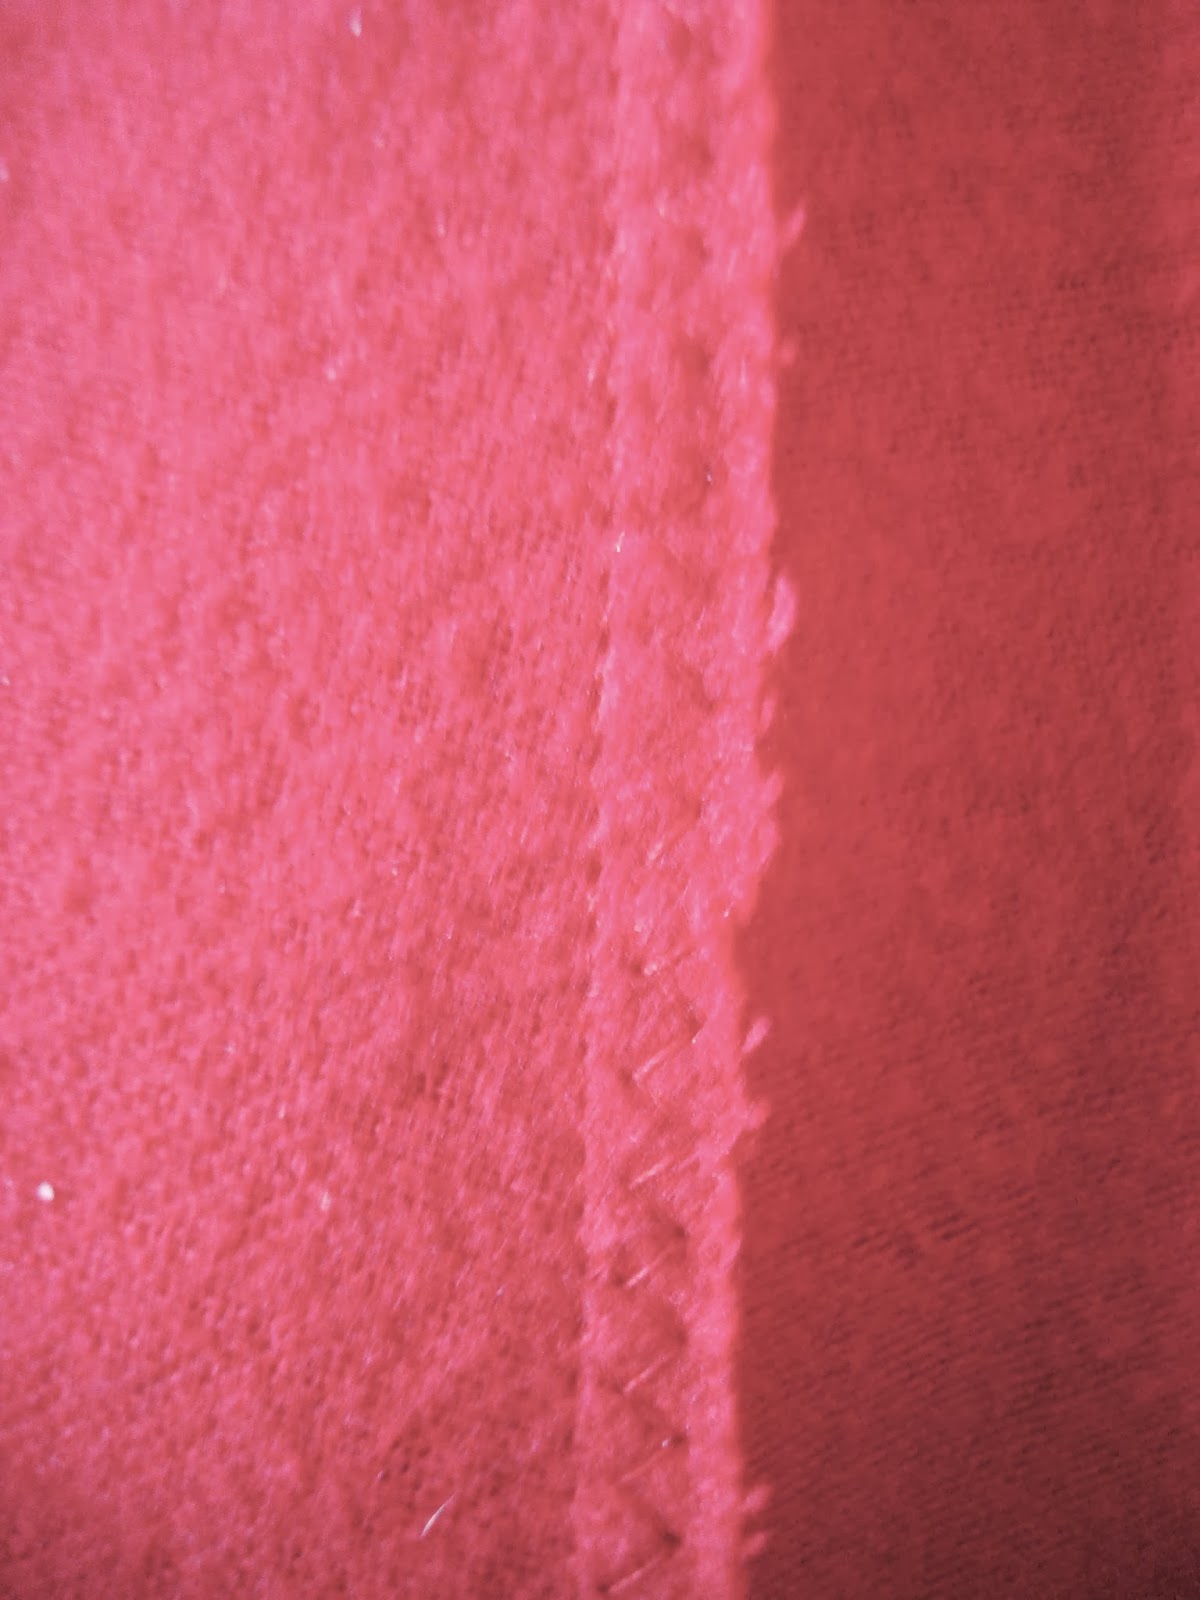
The next step was to turn my attention to that overlocked bottom edge.  I decided to look upon that partial finishing as a gift on this slippery sliding shifting fabric and use it to help me produce my hem.
I began by turning up 1½ inches.  I turn the folded edge up again so that the line of overlocking was enclosed by my first fold.  This gave the bottom hem a triple thickness and a nice bit of heft which should help with the hang of the finished curtains.   I felt the need to use a great many pins to hold this turning in place.  The fabric handled something like a cross between a crisp packet and a bin liner.

The instructions in the book are to pin and then hand baste (tack) every bit of sewing you do.  I am sure that this approach produces fantastically neat results… … eventually.  A big apology to the purists but I just couldn't face that kind of investment of time in a piece of second hand polyester.  I managed to produce a decent hem using plenty of pins and the 1936 Singer 99K hand crank.  The machine handled a fabric which would not be invented until five years after it was built pretty well I thought.  I was sure to use a light tension to avoid puckering though.  I used a cool iron to press the hem because I was terrified the fabric might melt.  It just about holds a crease but not for very long.  More on how things went at the other end of the curtain next time!

Thursday 30 January 2014

Bonding with Singer 15K80

One day early last autumn I got out the Singer 15K80 to do a quick job sewing some furnishing weight chintz.  The cotton thread I used was pretty old, it came from a wooden spool that arrived with the machine, and thicker than the usual polyester I buy.  I really struggled to get the '15' to produce anything like the kind of stitched vintage Singers usually make.  The stitches were loose at the beginning of the seams then would improve - a bit.  The best I could do was to back the top tension right off to get the top and bottom threads balanced but then the overall impression that the stitches gave was somehow sloppy.  It was hard to distinguish neat individual stitches making up the line.  Hard to explain and I didn't take any pictures at the time.

The poor quality of these stitches in spite of many rethreadings and much adjustment of the top tension were rapidly making me fall out of love with this machine.  I have often thought of the 15 as a bit of an odd ball in the Singer stable with its odd man out bobbin and bobbin case.  Three of my machines take class 66 bobbins so why did I even need the hassle of yet another type of bobbin?  For a few minutes I even considered throwing in my lot with the 15k80 and selling it.

Instead I did some thinking and research and came to the conclusion that my problems were, more than likely, related to bottom tension.

It took me quite some time before I could find some really useful practical advice on how to set up from scratch a class 15 bobbin case.  One method I watched on You Tube relied on buying a new bobbin case set up at the factory and then pulling yards and yards of thread through the tension until you develop a 'feel' for what should be the right tension - er there must be a more scientific way than that…!

And of course there is.  A big thank you to Charles Day who submitted these instructions to singersewinginfo.co.uk helping people like me (and you?) to improve the performance of their vintage Singers.

Step 1: weigh out just under one and a half ounces of sugar


Step 2:  put the sugar inside a tiny ziplock back.  The one I used came with spare buttons for one of The Much Beloved's shirts and was just the right size.


Step 3:  Tie the bobbin thread to the bag of sugar.  My bag happened to have a small hole punched in it for just that job.


Step 4:  Load the bobbin into the bobbin case.  The first time I did this I discovered that the tension on this bobbin case was so light that the bag of sugar quickly dropped to the floor sending the bobbin spinning in its case.  Ah-Ha!  So there's the cause of my sloppy stitches and inconsistent tension.


Step 5:  Using the small screwdriver; little by little I tweaked up the tension until it was sufficient to just hold the bag swinging in mid air.  A sharp upward motion should allow one to two inches of thread to be pulled off the bobbin before it comes to rest in mid air again.


Step 6:  Load the bobbin and case into the machine; check the thread path of the top thread;  adjust top tension to balance the top and bottom threads; admire the beautiful even straight stitches produced by class 15 Singers.  I think I may have just found a new favourite.


Monday 27 January 2014

A nightshirt for me: McCall 8372

After successfully sewing the onesie for The Much Beloved I thought I deserved some night attire of my own.  I couldn't see myself in a one piece.  Too reminiscent of overalls - there would be real danger of me attempting an oil change in one of those.  I took a fancy to something more old school (or should that be skool?).

McCall 8372 is excellent value as a pattern.  Just look at the many garments one can make with it.  I wonder if it was one of the last non-multi-sized patterns.  I ordered the large based on my 42 inch chest measurement.


Those of you who have read the blog will know that I am keen on free or very cheap fabric especially when practicing on a new pattern.  Regulars will also know that I am quite partial to repurposing duvet covers.

I have (had) this wonderful 100% cotton Conran duvet cover bought at Heel's ages ago.  It did years of service on my bed but it must be at least four since I've used it and it now doesn't go with anything.  It's a gorgeous cotton twill ticking and much washing has improved its beautiful soft handle.  I thought it would make a great nightshirt.

The pattern has clear instructions.  Diagrams backed up with directions which take into account whether you are using a straight stitch or zig-zag machine.  There is sufficient seam allowance for  the shoulder, armscye, and side seams to be flat felled.  The neck facings are turned under and top stitched to the wrong side for a neat finish.


The shirt features a rounded patch pocket on the left front.  I made a bit of an effort to get the stripes to match up.  I missed having reverse feed when I edge stitched the pockets.


The applied cuff bands are cut on the long grain which I think makes these stripes really pop in a good way.  They are finished off with a nice bit of edge and top stitching courtesy of the 28K.


The one point where the pattern is slightly vague is when it calls for a five eighths hem giving no further instructions.  I took this to mean - turn under a quarter inch, press, turn over a further three eighths so that the raw edge is enclosed within the second fold, press again, pin and edge stitch in place.  I hope I got it right?


The curved hem creates a shallow split where it meets the side seam.  I had to do a certain amount of fudging where the flat fell and the narrow hem meet.  It looks a lot better from the RS and is holding up to washing so far…


I made the buttonholes and sewed on the buttons using the Singer 401G and Singer slant buttonholer.  Results are consistent.  The 28K showed off a bit more with the topstitching on the front placket.


The buttons themselves are vintage brace buttons from Ede and Ravenscroft, robe makers to the Queen. High end or what?  They are rather bigger than the half inch shirt buttons recommended by the pattern but I think they are more in scale with the relaxed characteristics of the night shirt and the colour is perfect.


The finished garment is roomy but then I suppose it should be.  The fabric feels great - soft, comfy and cosy.  I made this nightshirt for a bit a giggle but have ended up wearing it quite a lot.  I used nearly half of a double sized duvet cover, thread left over from another project and three of six buttons from some worn out suit trousers.  So in theory my night shirt cost me only my time and I still have enough of everything left to make another.


"Hey - that's really nice.  I can't tell that it didn't come from a store," said The Much Beloved.  Would that be the ultimate compliment by any chance?


Monday 20 January 2014

A onesie for The Much Belovéd: Kwik Sew K3713

It seems like onesies are ubiquitous at the moment even here at Oil and Thread where we seldom follow fashion.  According to the stats the likelihood is that by now you either own a Onesie or know someone who does.  I am guessing that fewer people have actually sewn a onesie.  Unless they happen to have a copy of Kwik Sew K3713 lying around.


I thought this pattern might appeal to The Much Belovéd.  He seemed genuinely pleased when he first saw it and quite excited when I finally got down to work on it.  He tends to run around barefoot quite a bit so we agreed on version B the footless sleep suit.

I was inspired by the colour scheme on the pattern envelope and the very reasonable price of red cotton flannel.  An error on my part concerning the fabric width led me to buying twice as much winceyette as required.  During the weekend I spent shrinking, drying and ironing this fabric it felt like we were swathed in acres of red brushed cotton.

Red rag to a bull?

The pattern really isn't complicated and the instructions are first rate.  The biggest challenge is the size of the pieces.  Laying out and cutting took up a lot of space.  It's lucky the dinning table has that extra leaf!  Once the fabric was cut its size made it more than a bit of a handful.


The pattern includes a quarter inch seam allowances which are finished by zigzagging together - must be a job for the trusty 401G.  I heeded all my old sewing machine instruction books' warnings about shortening the stitch length and lightening the tension when sewing flannel.  I think this is supposed to allow the seams to 'give' a little during wear.  Kwik Sew's quarter inch seam allowances mean no trimming - refreshing!

This shade of red has proven to be virtually impossible to photograph!


The neckband and cuffs are sewn into the main body and finished in the same way.


This was my first go at sewing stretchy knits.  I did invest in some Organ needles designed especially for stretch fabric and I played it safe by sewing with my 'modern' machine.  I quite enjoyed the experience and the results are encouraging.


The pattern includes directions for either buttons or snap fastenings.  TMB put in a special request for snap fastenings so that meant buying some new kit.  I may post a full tutorial on fitting snaps at a later date.  They went on without any trouble at all and I think they work well with this pattern.


The pattern is a very generously sized.  I cut the medium based on the measurements on the pattern envelope but in my opinion the finished garment is a shade too big for TBM.  It's actually a better fit on me and I am nearer a large these days.  If I made another (remember I ended up with enough fabric for two) I would either make the small for TMB or reduce the length of the body by 1-2 inches.  TMB was however delighted with his roomy new onesie.  The proof has been in the wearing with the onesie making regular appearances at the weekend breakfast table!

The owner was not available for modelling today

Saturday 18 January 2014

New check spring for Singer 28K

This handsome little machine is my Singer 28K.  It was my first and it was this machine that got me started on sewing.  On it I sewed my first ever garment, pieced my first quilt top and then went on to quilt and bind that quilt.  It's not very easy for a beginner to quilt a single bed sized quilt on a three-quarter sized machine fitted with a fixed straight-stitch foot but the results are satisfying.

Singer 28 Sewing Machine

The machine had been given to a colleague of mine who is a wiz with fancy dress.  She didn't feel it was really the machine for her so the 28 had been stored under her desk at the office for some months.

When it arrived there really wasn't much wrong with it.  It looked like it hadn't been used for a long time and although slightly dulled and with a few blemishes there were no signs of significant rust.  It came with the essentials; a fixed straight-stitch foot, a shuttle, one bobbin and a blunt needle.  The only real problem was that the check spring, which on Singer 27/127 and 28/128, is comparatively long, unguarded and therefore vulnerable to damage, had been snapped.

The check spring is the fine wire spring which will usually be found somewhere in the region of a sewing machine's tension disks.  It's job is to remove slack in the thread as the take up arm rises to the top of its stroke after the stitch has been formed.  If the tension on the check spring is too little or the spring is missing the machine will be unable to form good stitches.


This machine was actually able to form a pretty good stitch even without a properly functioning check spring.  However I knew it would do better if it was in tip-top condition so I bought a new one.  If you are looking for one it is worth knowing that a spring from a 27 will fit a 28 and vice versa.

Singer 27 check spring

The new check spring has a loop at one end for the thread,  a long straight section, a row of even coils and one small coil at the end.  The whole thing slips neatly over the tension assembly stud.


The stud is threaded at both ends.  The narrow thread screws directly into the machine head and the split end allows the pressure on tension discs to be varied.


This photo shows the check spring in position over the tension stud.  The tail of the spring will be sandwiched between the step in the stud and the machine head casting.  This holds the spring in place and under tension.


The check spring's travel is limited top and bottom by the two notches on the machine head casting but the arm of the spring should sit on the lug mid way between these two.  The position can fine tuned by loosening the screw at the bottom of the tension assembly and sliding the slotted back plate to the left or right.


Here is a detail of the tension unit after reassembly.  The knurled nut adjusts the upper tension and shouldn't need to be much tighter than in the picture if the bottom tension is set up correctly.


With a new check spring the Singer 28k is now producing beautiful, even, balanced stitches.  Not bad work for a 115 year old!

Friday 25 October 2013

Sewing on buttons with the Singer 401G

I had to do a little repair so I used the opportunity to get some photographs.
This procedure is so much fun and so quick it is over all too soon.  As usual preparation is key.  First fit an open, short-toed, button sewing foot to the presser bar.

Singer slant shank button sewing foot

Next raise the throat plate (which is, on the 401, the equivalent of dropping the feed dogs - trust Singer to be different!)

Raised throat plate

This is done by setting the throat plate positioning lever to the darn/embroider/button sewing symbol.


The stitch selector must be set at AL and the red lever at position 1.


With the work clamped down by the presser foot and the needle aligned with a hole on the left side of the button take one stitch (turning the balance wheel by hand) and stop with the needle just above the foot.


Then move the red lever to position 4 and take six zigzag stitches ending with the needle back on the left side.


Move the red lever back to position 1 and take three stitches to secure the button.  Remove the work from the machine and trim the loose threads.  It's that easy.  It takes seconds.  I kid you not!

Thursday 24 October 2013

Greist Buttonholer #1

This arrived last week.  It was just in time to make the buttonholes on the French back boxers.  I am rather taken with it for a number of reasons - the funky box is only one of them.


According to the back of the box Greist seem to have offered a bewildering range of buttonholers, no fewer than ten, to suit every conceivable sewing machine.  Make sure you get the right one.  For standard low shanks (like my Singers 15K, 28K, 99K and 201K) it's model #1.  If you're looking for a buttonholer to suit a Singer slant shank it's model #5.


Inside the box is the buttonholer itself;

cover plate and screw;

five button hole templates;

and (best of all in some respects) the instruction book.

The instructions are copyrighted 1966 so the buttonholer can't be any earlier than that although I am given to understand that Greist produced this design of buttonholer we'll into the 1980s.  I love the colour of the buttonholer and the instructions it looks very mid sixties to me.

The instructions are really well written and even offers tips on what size thread and needles to use.  I was interested and delighted to read the following Special Note which I have never seen in a Singer instruction booklet!

This buttonholer should come with five templates - 5/16", 5/8", 13/16", 1 1/16" (straight and keyhole).  Mine came with a rather odd, but useful, mix 5/16", 1/2", 5/8", 7/8" keyhole and eyelet.  The templates are plastic but as far as I can gather earlier versions used pot metal ones and they are interchangeable.  Even better than that, Greist made buttonholers for Singer and the templates from these are also interchangeable.

This buttonholer is smooth and surprisingly quite in use and makes great buttonholes.  I think this one is going to be getting a lot of use probably with the Singer 201K with dropped feed dogs.

I love the back of the instruction manual as a parting shot!